
Make this beautiful transparent window star to celebrate the longer daylight hours!
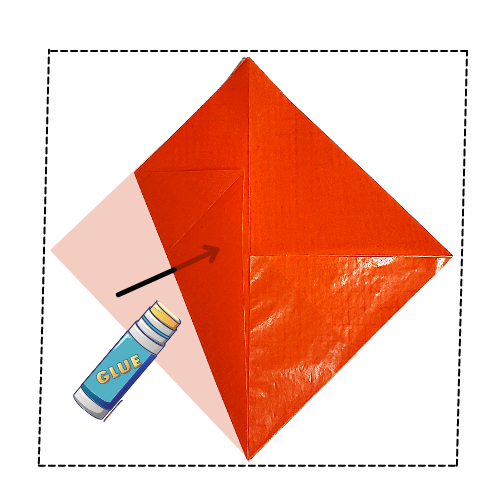
Pick up your take-and-make kit at the Adult Services desk beginning on Monday, March 21 (while supplies last). The kits contain paper for making one star and the instructions for the star shown above. See below for some other variations you could try! All you need to supply is a glue stick.
Check our blog daily during the week of March 21-25 for more Maker fun and ideas!
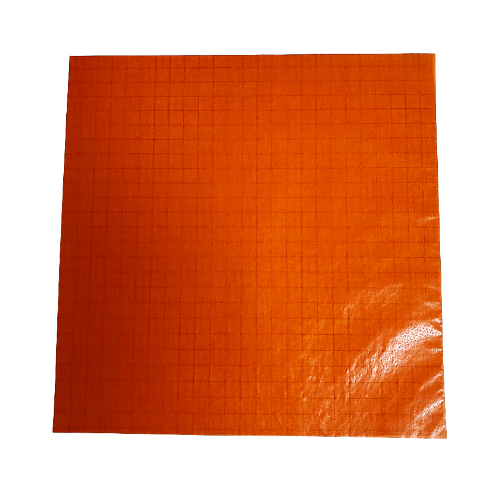
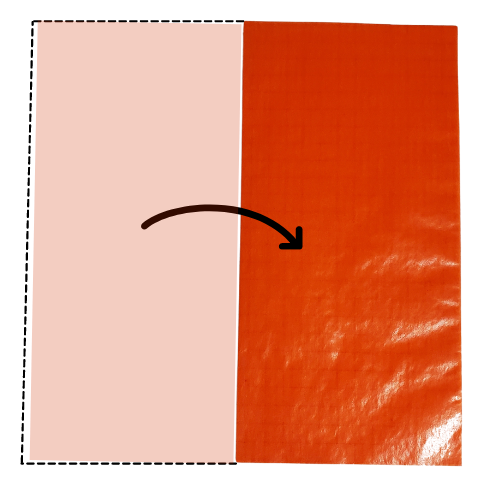
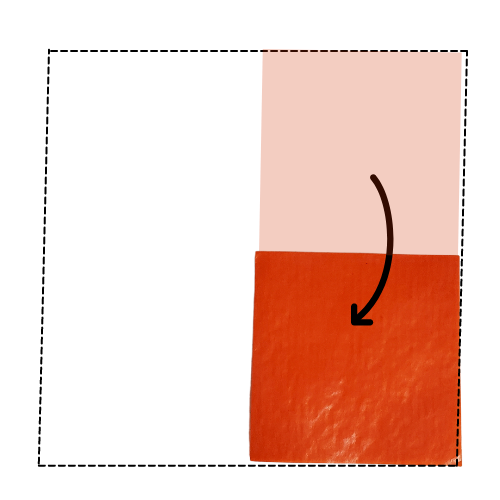
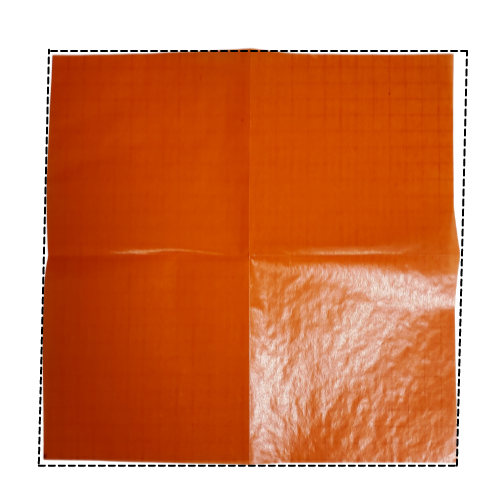
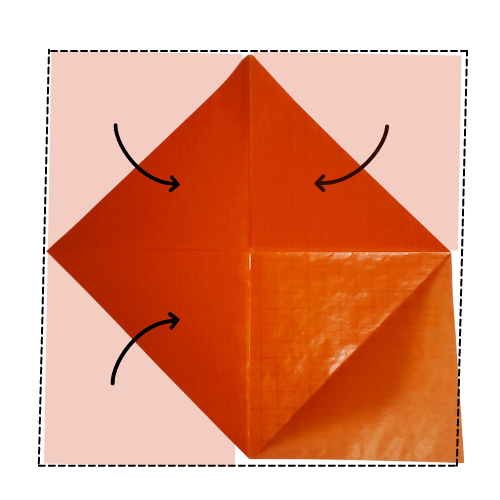
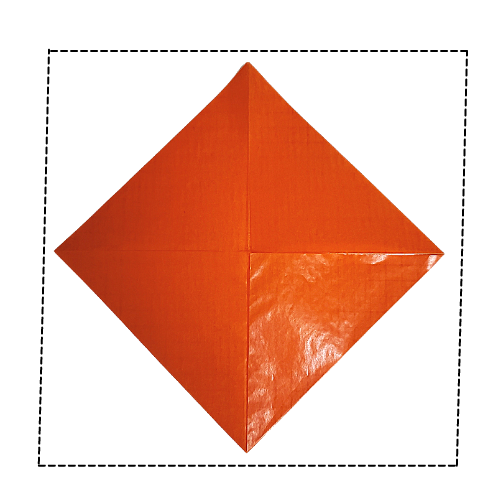
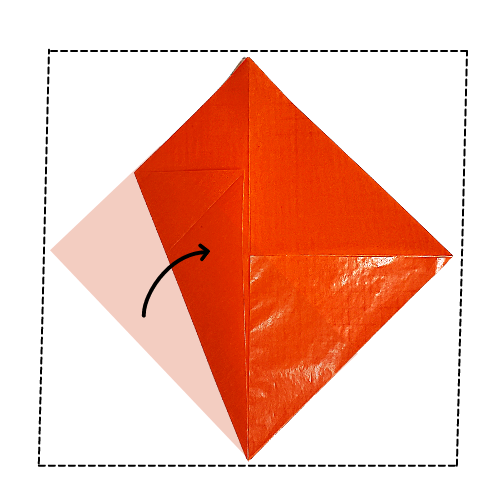
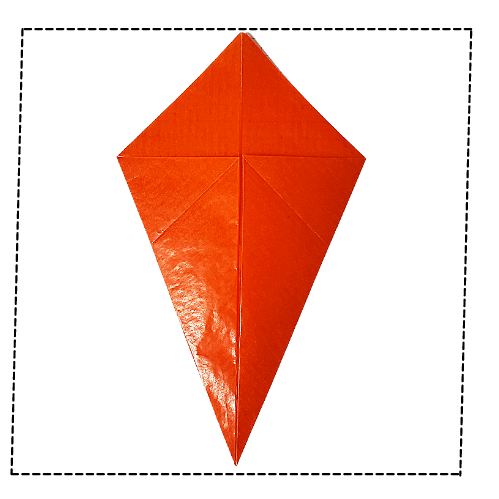
These window stars are made with special transparent paper, often called ‘kite paper.’ If you have your own paper, here are the instructions included in our kits. You’ll need 8 squares–the one’s we’re supplying are six inches, but different sizes can work.


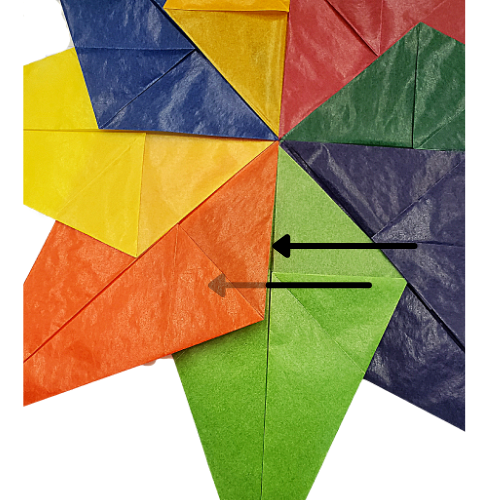

Attach your star to a sunny window with small pieces of transparent tape, and enjoy!
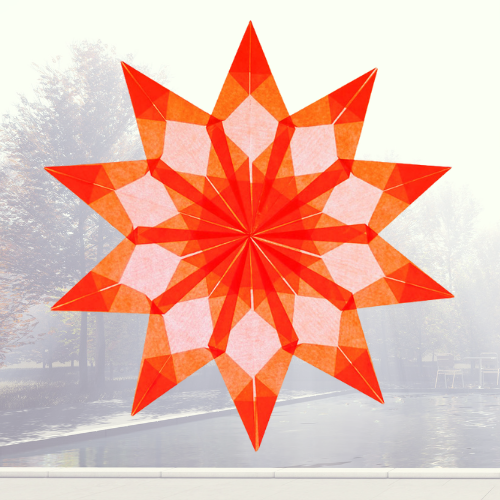
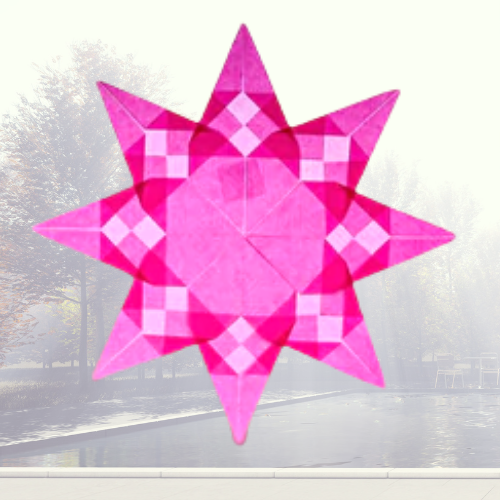
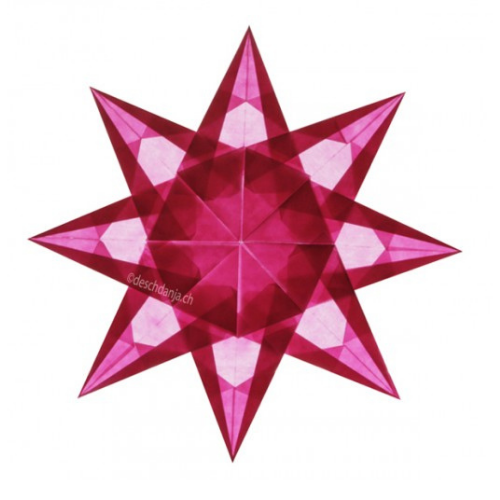
Window Star Variations
These are almost endless ways to make window stars–here are a few you can try. Each also uses 8 squares.